Create a layout for print or publication
QGIS is a powerful data viewing and analysis platform, but it is also capable of creating publication-quality maps for print or publiction. This tutorial covers the basics of creating a new print layout in QGIS, adding a map and map elements to that layout, and exporting the resulting layout as an image.
See the QGIS manual for complete documentation on print layouts in QGIS.
Creating a new print layout
Once one has created a map in the QGIS Map View that one would like to print or publish, one needs to switch to the QGIS Print Layout. From the menu bar, select Project -> Print Layout.
Note
The Project Toolbar  also
contains a button (
also
contains a button ( )
that creates a new Print Layout.
)
that creates a new Print Layout.
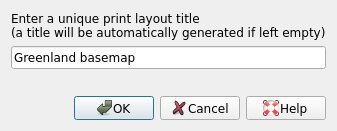
First, name the new print layout after the figure you plan to create and click OK.
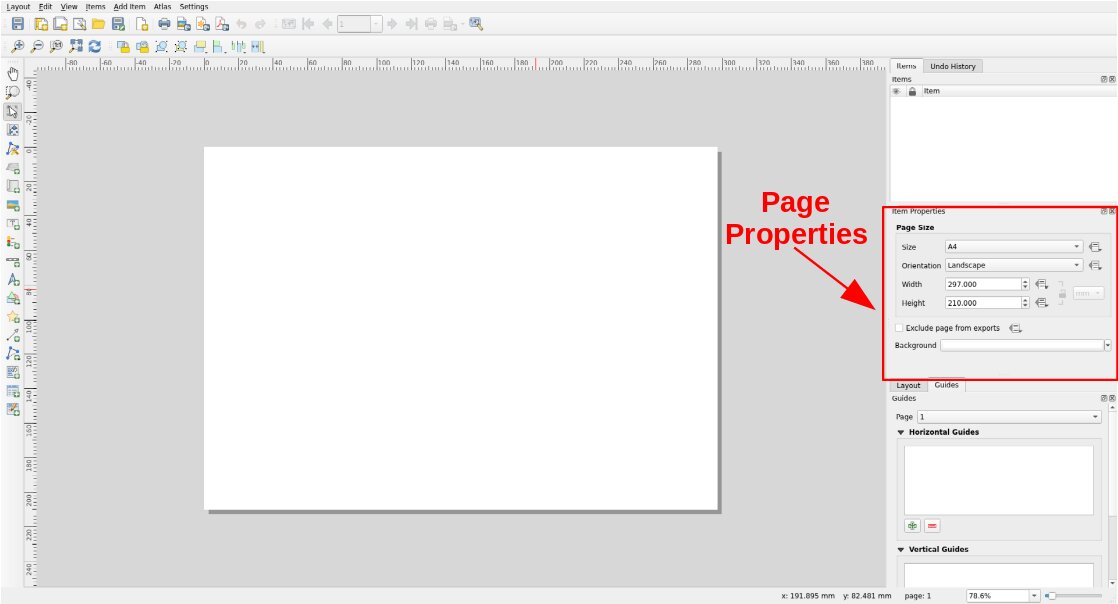
When the print layout window opens, it will be initially blank.

Changing the print layout’s properties
To change the size and orientation of your print layout, right click in the map area and choose Page Properties. This will add page size options to the Item Properties panel on the right side of the screen.
Adding a map and other elements
The print layout will allow you to add features to your map such as a title, legend, north arrow, scale bar, pictures, etc by interacting with the buttons in the Toolbar on the left of the screen.
To add a map to your layout, click on the Add Map button
 . Click and drag to create a box
where the map will appear on the print layout display.
. Click and drag to create a box
where the map will appear on the print layout display.
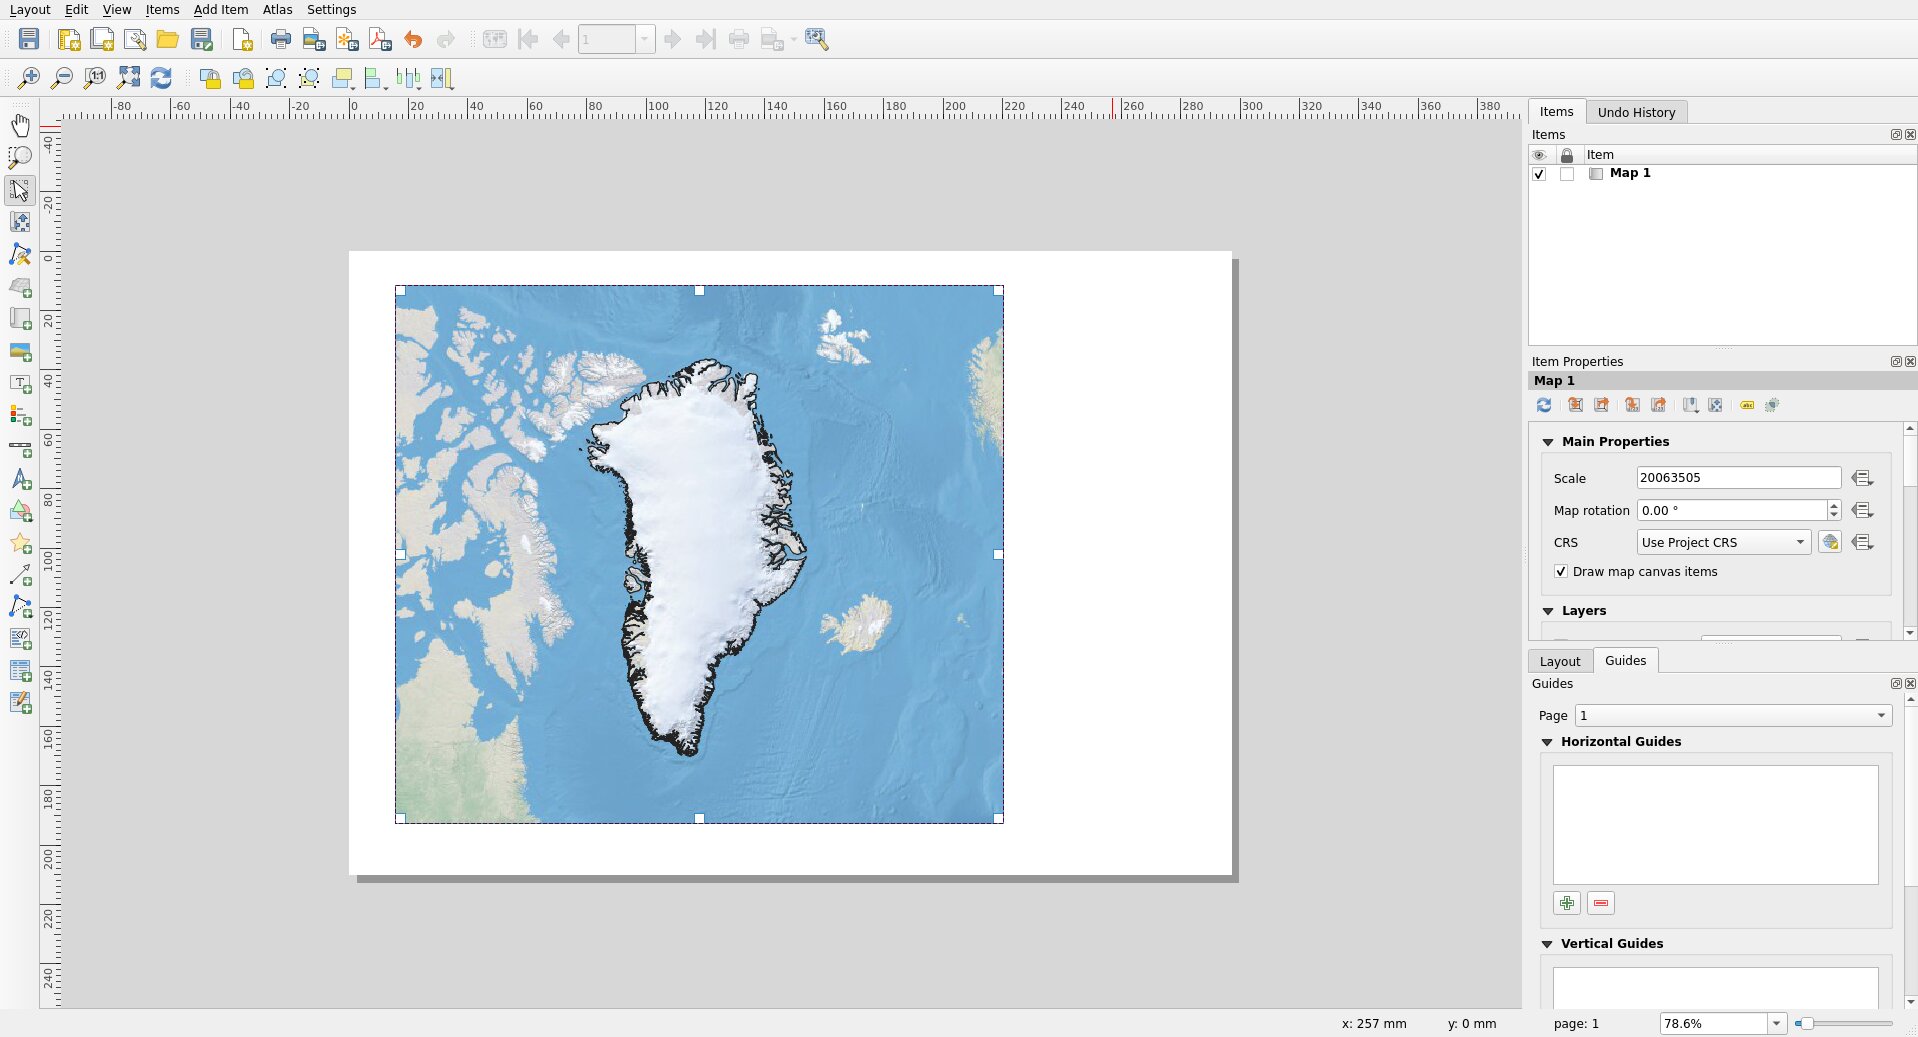
To zoom into the region shown in the map or change the extent, click on the
Move Item Content button
 , which will make it
possible to manipulate the map area within the box.
, which will make it
possible to manipulate the map area within the box.
Now explore some of the other buttons included in the map layout Toolbar. Add a north arrow and scale bar. Finally, once one is happy with the layout, try exporting the layout as an image by opening the Layout menu and selecting Export as Image.
Summary
In completing this tutorial, the user has created a new print layout, added a map and other elements to the layout, and exported the layout as an image. This image can now be utilized in publications or printed to physical media (e.g., a poster).